Table of Contents:
- Introduction (1/11)
- Goals and Architecture (2/11)
- The inotify API (3/11)
- File Watcher, C++ (4/11)
- File Watcher, Bash (5/11)
- Execution Engine (6/11)
- Containerization (7/11)
- Kubernetes (8/11)
- Demo (9/11)
- Conclusion (10/11)
- System Setup (11/11)
- Source code
This post will present a demo of the system in action. It aims to demonstrate how to take an input source file and get the output execution. Basic usage is covered, as well as the more advanced features of command-line input and interactive sessions. The post then wraps up by testing the timeout and autoscaling resiliency features of the system.
Basic input
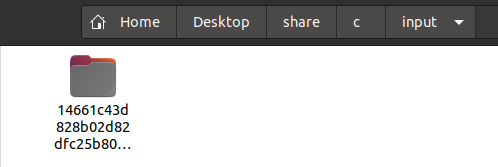
After launching the system, the shared mount between container(s) and hosts will contain a folder in the various directories corresponding to the containers unique identifier.

As shown above, the input directory now contains a folder, 2cd0b1…, which is mapped to the input folder for the running container. If multiple containers are running then multiple uniquely named folders would be present here. This input folder will be the location where C source language files are dropped. For example, take the following short C program,
#include <stdio.h>

int main(int argc, char *argv[])
{
    fprintf(stdout, "Hello, World! stdout\n");
    fprintf(stderr, "Hello, World! stderr\n");
    // fprintf(stdout, argv[1]);
    return 0;
}
After saving this as a file called test.c, putting it into the 2cd0b1… directory, you will notice that the file seems to disappear. This is because the file watcher has picked up the addition of the new file to the directory and has kicked off the compilation and execution process. Navigating to the output directory, you will see a folder with the same name, 2cd0b1…. Inside of this folder is another folder simply called 0.
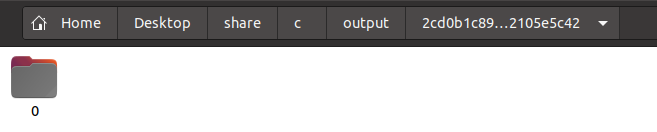
These are folders that are named sequentially for each input that has ran, i.e. the first input source files output will be placed in folder 0, the second one in folder 1, etc. Navigating inside this 0 folder, there is a file called test.c.log. Opening that file up, you can see the output and return code of the code that has just been compiled:
{
    "result": {
        "return": 0,
        "output": "Hello, World! stdout\r\nHello, World! stderr\r\n"
    }
}
Introducing a syntax error, i.e. removing a semicolon from test.c and trying again gives different output. After making those changes and adding it to the input directory, there will be now be a folder called 1 to correspond to this next execution of the system. The test.c.log file in that folder has the following output, showing that the compiler output has been captured and that there is an error:
{
    "result": {
        "return": 0,
        "output": "/home/user/code/share/c/workspace/2cd0b1c89028aeb0283a56deb091ce24a626febda22c7eaf79a31dd2105e5c42/1/test.c: In function 'main':\n/home/user/code/share/c/workspace/2cd0b1c89028aeb0283a56deb091ce24a626febda22c7eaf79a31dd2105e5c42/1/test.c:5:46: error: expected ';' before 'fprintf'\n     fprintf(stdout, \"Hello, World! stdout\\n\")\n                                              ^\n                                              ;\n     fprintf(stderr, \"Hello, World! stderr\\n\");\n     ~~~~~~~                                   \n"
    }
}
This same process can be repeated with files of any supported language.
Command-line arguments
It is easy to test command-line arguments by uncommenting the line that prints the value of argv[1] in the test.c program above. For command-line arguments to be properly passed in, they need to be specifies in a dedicated file as well. This file should have the same name as the input, with the .args extension added at the end. So just create a test.c.args file with the value of the command-line argument, i.e. “123”. Take this file and add it to the arguments folder for the container

Next add the test.c input file to the input folder again. You should see the source file disappear and a new folder called 3 (for third execution) be created in the output folder if the system is still up. As before, inside this folder, there is a test.c.log file. That log file now contains the original input plus the command-line argument as part of the output:
{
    "result": {
        "return": 0,
        "output": "Hello, World! stdout\r\nHello, World! stderr\r\n123"
    }
}
Interactive sessions
Now lets try an interactive session; this time we will use Java. To do this, we need a Java file that reads in command-line input at runtime. That is easy enough to do and the code for it is shown below:
import java.io.BufferedReader;
import java.io.IOException;
import java.io.InputStreamReader;

public class MyTestClass {
  public static void main(String[] args) throws IOException {
    System.out.println("Hello, World! stdout");
    System.err.println("Hello, World! stderr");

    BufferedReader reader = new BufferedReader(
            new InputStreamReader(System.in));

    for(int i = 0; i < 5; i++)
    {
        String name = reader.readLine();
        System.out.println("You entered: " + name);
    }
  }
}
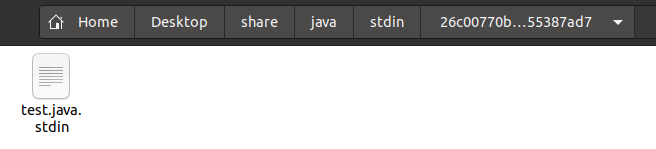
The process for an interactive session is similar to providing a command-line arguments: we need a dedicated file to store the input session state. This time, instead of creating an .args file with command-line input, we will create an empty .stdin file named test.java.stdin. This will be placed in the stdin folder of the container running the Java compiler system.
After this file is placed in the stdin folder, the test.java file can be placed into the input folder. After placing the file in the input folder you will notice that it did not disappear. This is because the interactive process is taking place and the source file is not cleaned up until the last step in the compilation and execution process. Now that an interactive session is established, it is time to provide input via the .stdin file. For this it is best to use a text editor such as vim or similar which does not perform any intermediate saves or newline formatting.
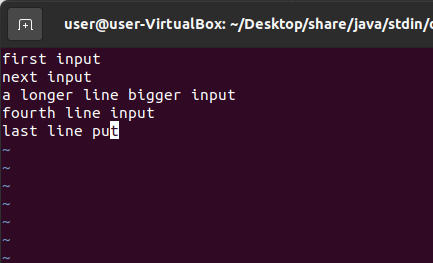
Each line of input is forwarded to the stdin of the running Java process. This input was generated by typing a line and saving the test.java.stdin file. After saving the fifth line, the input file disappeared and a test.java.log file was generated in the output directory. This log file shows the input from the .stdin file being properly being forwarded to the running process as if it was entered on the keyboard:
{
    "result": {
        "return": 0,
        "output": "Hello, World! stdout\r\nHello, World! stderr\r\nfirst input\r\nYou entered: first input\r\nnext input\r\nYou entered: next input\r\na longer line bigger input\r\nYou entered: a longer line bigger input\r\nfourth line input\r\nYou entered: fourth line input\r\nlast line put\r\nYou entered: last line put\r\n"
    }
}
Timeouts
Testing timeouts is pretty straightforward. The default timeout value for a non-interactive session is 10 seconds, so we can just test a program with an infinite loop and wait. If everything works correctly then the process should be killed after the maximum timeout value. For variety, we can test this with Python. To do this, we can create a Python input file that does nothing but a print-sleep loop:
import sys
import time

while True:
    print("Hello, World!", file=sys.stdout)
    time.sleep(1)
After adding this to the input folder of the Python container, we can wait for 10 seconds. After this amount of time the input file should disappear and there should be a file present in the output directory. The contents of this file show that the timeout was indeed hit as ten messages were printed:
{
    "result": {
        "return": 0,
        "output": "Hello, World!\r\nHello, World!\r\nHello, World!\r\nHello, World!\r\nHello, World!\r\nHello, World!\r\nHello, World!\r\nHello, World!\r\nHello, World!\r\nHello, World!\r\nHello, World!\r\n"
    }
}
Scaling
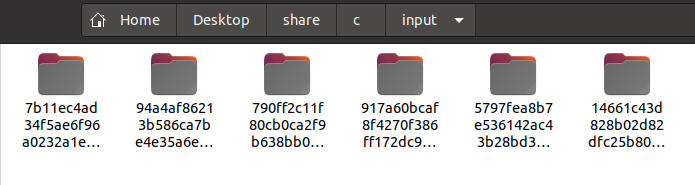
The last bit of the system to test out is the autoscaling. If we take a test input file, create hundreds of copies of it, and add it to the input directory of a target language container, we can trigger the autoscaling to kick in as CPU and memory resources will begin to be heavily utilized. When new instances come up, they will create a unique folder in the various directories. Under a more resilient system, the input file load from the initial instance would be redistributed across the new instances that scaled in. Shown below is what happened after adding a lot of stress to the single container pod that was up:
Kubernetes will take pods out of service after some time when the CPU and memory utilization stabilizes. After waiting around five minutes on my machine, the underutilized pods were taken out of service and shut down.